Navisworks's Clash Detection
Navisworks is an Autodesk software designed to allow designers to analyze, simulate and communicate their designs. Models from a variety of disciplines can be viewed and reviewed through this software including Revit, SketchUp, BIM, and much more.
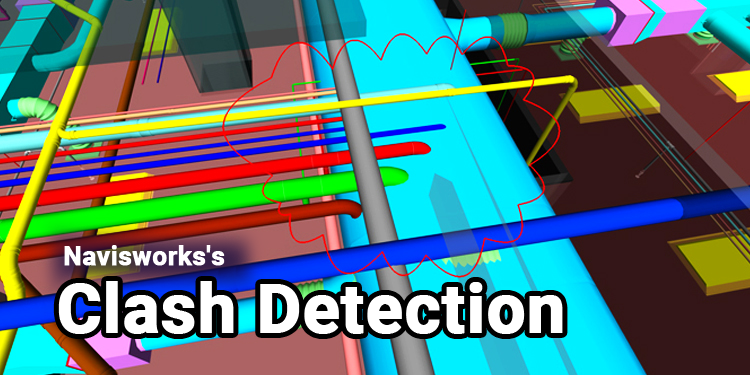
The clash detection tool in Navisworks can be used to coordinate 3D geometry. The virtual model allows us to predict, prevent, and resolve problems before construction starts, reducing costs and delays while reducing changes.
Procedure of Clash Detection
Clash Detective Tool
- The file needs to be prepared. Hide all elements that are unnecessary.
- The 2D elements will be hidden.
- Make sure you have the correct coordinates.
- The first step is to create sets.
- Tests must be created.
- Keep an eye out for clashes.
- The collision list should be checked.
- Solve problems after you review them.
- Report.
Making Sets
- You open the Clash Detective panel, the Selection Tree, and the Sets.
- The sets are folders containing a selection set based on your analysis goals. A COL may refer to columns, while a FRA may refer to structural framing or a FON may refer to foundations.
- You can create them by using the Find items tool. While sets created by choosing items manually are not added to the selection when the model changes and is exported again, sets produced as a result are updated if the model changes and is exported again.
Making Tests
- Assign a descriptive name to your new test.
- Review the rules regarding clash ignoring.
- The Select section lets you choose the elements to test. The user has the option of selecting a previously created set, a whole model with all of its elements or customizing the elements. Sets can be used to control which elements are selected.
- You can modify the following on the Select section:
- If you're trying to test penetrations, type hard. You'll need clearance if you'd like to accommodate elements.
- Overlapping numbers less than or greater than tolerance will be dismissed or cleared.
- Do not check Composite Object Clashing if you want to avoid testing complex objects to each other.
- You can run a test by clicking run test.
Check the list of Collisions
- You can find it under results.
- In red, you'll see new clashes.
- You can select a clash by clicking on it.
- If you select Hide Other, your selection will be isolated.
- It will be easier to read if you dim other.
- The Auto Reveal feature hides all occluding elements.
- If a clash occurs, you can assign it or comment on it.
- If you want to see only clashes within specific elements, use the NON/EXCLUSIVE/INCLUSIVE filter.
- It is possible to group clashes together in the report and makes them appear together.
Solve & Review
A clash can be fixed in the Revit file by looking up the ID of the clashing element in the properties palette. You must export the Revit file again, overwriting the previous one once all interferences have been added to it. If you do this, resolved clashes will be displayed in yellow in the sections Resolved and Re-Load. A new collision marked in red as a new collision.
Reporting
The report tab displays several properties of the elements that can export. It is possible to export a specific test or all the tests. The export format selection is extensive.